 Starting a LinkedIn group is fast & easy
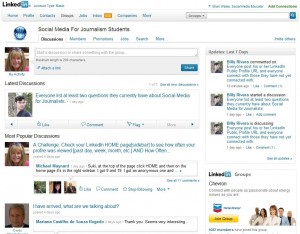
Just ask Billy Rivera, one of my star students in the Social Media for Journalists online course that I teach for 33 students at Laney College. We have a great Facebook group for student discussions, and it was my intention to add a LinkedIn group as well.
But Billy beat me to it. Here’s his story with 10 easy steps you can take to set up your own LinkedIn group.
Why and How to start your own LinkedIn group
 Guest post by Billy Rivera
After two weeks on LinkedIn, I think I have found my rhythm. As a newbie with limited work experience, I knew I had to overcome the fact that I just wouldn’t have 500+ connections anytime soon. Instead of feeling overwhelmed and discouraged, I came up with a game plan that would make people want to connect with me. I realized that having a status bar tell me that my profile was only 75% complete isn’t a reflection on me, my skill set, or my ambitions.
As part of last week’s assignment, we were asked to join a selection of LinkedIn groups (i.e. #journchat, Online Journalism, and Online Reporters and Editors), contribute to the discussion, and finally, write a blog post with highlights from the conversation. The first thing I noticed was that in order to join some groups, I first had to be approved. So instead of waiting for their approval, I decided to create my own groups, starting with one for us journalism students. What sets my group apart from many out there is that it is open; no approval needed, just your mind and your love for social media and journalism.
Reasons to start your own LinkedIn group
· Create a community that doesn’t already exist
· Establish more connections
· Free PR/marketing for your business
· Conduct research on a topic
· To inspire people
· Create a fan club
· Branch off from a bigger group with a niche
· Network to further your career goals
· Recruit people for your business
· Start a dialogue about something you’re passionate about
10 steps to start your own LinkedIn group
If you have a great idea for a LinkedIn group, starting one is fast and easy. Once you’ve created the group, you have the option to send a mass invite to your connections and have a discussion flowing within minutes. Here’s how:
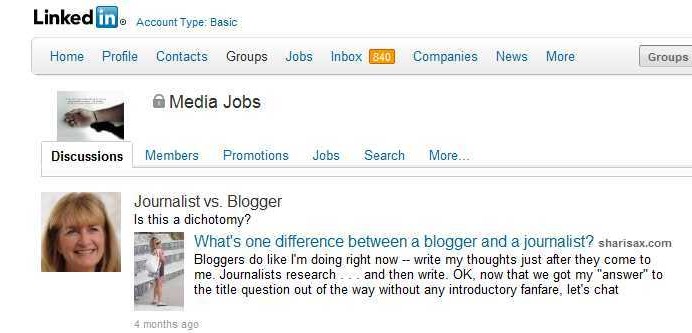
1. Go to your LinkedIn homepage. On the top menu bar you will see these categories: Home, Profile, Contacts, Groups, Jobs, Inbox, Companies, and More. When you put the cursor over “Groups,” a drop down will appear. Click “Create a Group.”
2. The next page is the most important. For now, skip over the Logo option and come back to it last.
3. Think of a group name that will stand out from the rest. For example, when I created our group, Social Media for Journalism Students, I didn’t want to title it the exact same as our class because I wanted it to be open to anyone and everyone who may want to discuss social media, as well as journalism students.
4. Choose a Group Type that best reflects the type of “activity” you feel you want. When I created our group, I felt that none of the options were a good fit, so I chose “Other” and then typed in “Class Group.”
5. Write a brief summary that will attract people to join. IMPORTANT: Choose keywords that people will use when searching for groups to join.
6. Here’s where you can go deeper into the group topic. When I created the group, I went back to our class syllabus and used a quote from Shari Weiss (and, of course, cited her) that I feel best summed up why we journalism aspirants should study social media.
7. Enter an email address that you check on a daily basis, so you can monitor group activity as it happens.
8. Website: this is optional. I chose to enter my Journ65 blog as a way to show group members that I’m the Real Deal striving, to be the “resident expert” on the subject matter.
9. Modify the Access of the group to fit your needs. You have two choices: Auto-join, or Request to join. Click on “Display this group in the Groups Directory,” “Allow members to display the logo on their profiles,” and “Allow members to invite others to join this group.” This will make it easier for people to find your group.
10. For the logo, search for an image that is public domain (copyright and royalty free) from a site such as www.freedigitalphotos.net or upload a photo from your computer. Choose a photo that catches the eye and is a spot-on representation of the subject matter. Read through your Summary and Description for inspiration for finding a logo that works for the group.
When you’ve completed the 10-steps, click on “Create an Open Group.”
Once you’ve created the group and sent invites, managing it will be simple and rewarding. As people join, make sure to invite them to join in on the discussion. Introduce yourself as the group owner, and make them feel welcome. As the group owner, it is up to you to think of discussion topics and post them to the group “wall.” The more people that join, the bigger the discussion.
[Note from Shari: I just read how important it is for you to choose the right NAME for your group: “On LinkedIn you want to win the mindshare of your target audience and attract them to become members of your group. You can only do so by naming your group appropriately.” Hubspot ebook Learning LinkedIn from the Experts]
